


Embracing an eco-friendly lifestyle while enjoying the comfort of modern living can be very rewarding. At Oxford at Country Club in Baytown, residents not only relish apartments with pools reminiscent of a resort getaway, but also have the opportunity to engage in creative activities that support sustainability. Despite the ubiquity of plastic, this fun project helps reduce plastic waste while adding a splash of color and life to your home.
Plastic bottles are a common household item, from refreshing beverages to soap containers. Although recycling initiatives strive to manage these effectively, a significant number unfortunately find their way into landfills. The good news? You can easily repurpose these bottles into vibrant planters, perfect for those who cherish greenery in their living spaces. This DIY activity is a fantastic way to spend time, blending creativity with eco-consciousness.
Transforming plastic waste into decorative planters is a simple process that fits the lifestyle of apartment residents, especially here in Baytown, where the option of utilizing apartments with a resort-style pool creates a serene backdrop for this engaging project. Let’s dive into the process:
1. Gather Your Supplies
This DIY planter project is cost-effective and resourceful, mainly using materials easily found in your apartment's storeroom or art corners. Here's what you'll need:
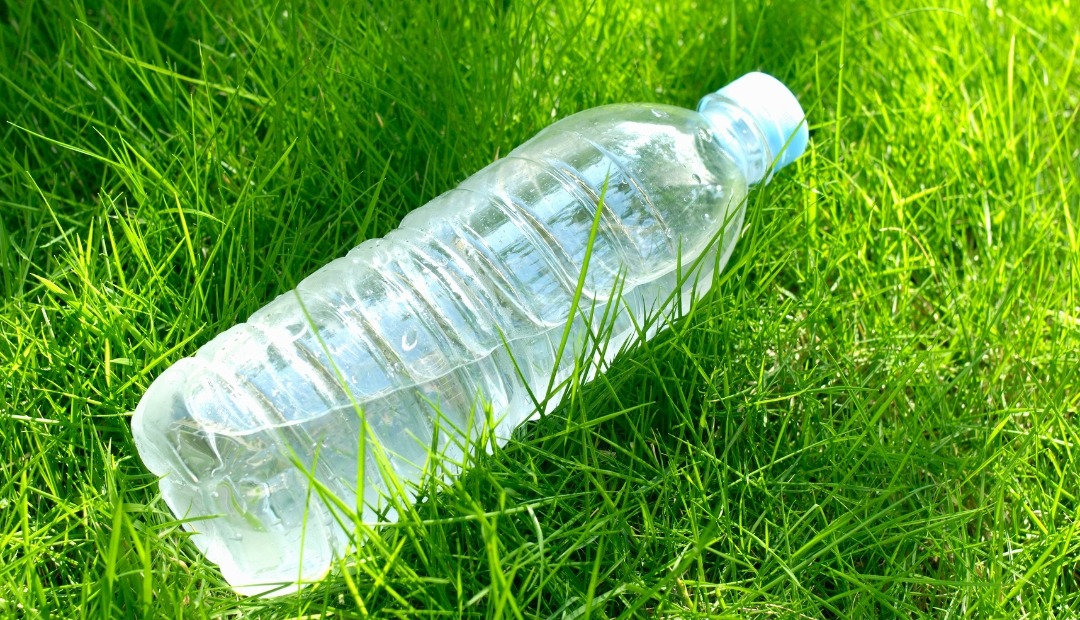
- A plastic bottle (cleaned and dried)
- Utility knife
- Scissors
- Fine-grit sandpaper
- Masking tape or marker for guidance
- Old newspapers
- Acrylic paints, paintbrushes
- Preferred plant
- Potting soil
- Decorative pebbles
Begin by ensuring your bottle is free from any labels or adhesives, and thoroughly washed. This cleaning step is crucial for achieving the best aesthetic results.
2. Define Your Cutting Area
Safeguard your workspace by layering old newspapers on the table. Use masking tape around the bottle to mark a straight cutting line. Should masking tape be unavailable, a steady hand with a marker can accomplish the same task.
3. Cutting Edge Technique
Utilizing the utility knife, make a small incision as the starting point for cutting along the outlined line. Follow up with scissors to separate the sections smoothly. Uneven edges can be tidied up later through careful sanding.
4. Ensure Proper Drainage
Drill three or four small holes in the bottom to facilitate drainage. This step protects your plant by allowing excess water to escape, thus fostering healthier root growth.
5. Smooth and Personalize
Gently sand the bottle’s cut edges and roughen the body to help the paint adhere better. This part is where your creative spirit comes alive. Choose acrylic colors that inspire you and decorate to your heart's content!
6. Time to Plant
After painting, let your planter dry thoroughly. Once ready, fill it with potting soil and carefully position your plant. A layer of pebbles adds a finished look, and now your handmade planter is ready to brighten any sunny spot in your Oxford at Country Club apartment.
Why Choose Oxford at Country Club for Creative Apartment Living?
Oxford at Country Club in Baytown offers more than just living spaces. With access to a serene swimming pool, picturesque courtyards, and engaging community features, it cultivates an environment where creativity and relaxation intertwine. Whether you're crafting planters or simply enjoying the scenic landscape, these apartments provide the perfect backdrop for both relaxation and inspiration.
Engage with your local community by participating in eco-friendly activities and enjoy the luxury of modern amenities, making apartment life creatively fulfilling.